Crochet Basics – How to Do A Slip Knot and Chain Stitch
April 10th, 2010
This is where all crochet begins, doing a slip knot and then a chain stitch.
Basic stuff, but essential.
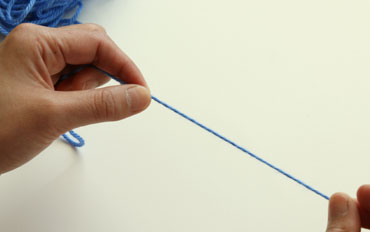 | 1. This is how I start with all my crochet. I’m right handed so I have my skein of yarn on my left and the end of the yarn on my right. If you are left handed it would be the opposite. |
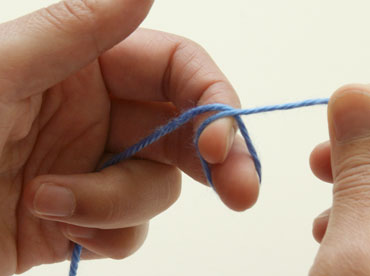 | 2. Wrap the yarn over your index and middle fingers of your left hand as shown in the picture. You can hold the crochet hook in your right hand as you do this. |
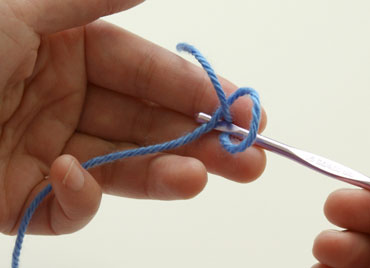 | 3. Feed the crochet hook through the loop, over and under the yarn. |
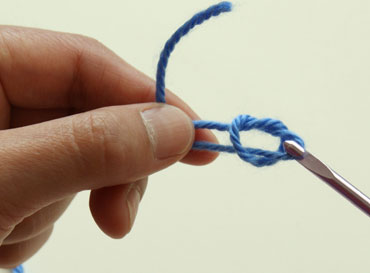 | 4. Pull the hooked yarn through the loop while holding the two ends of the yarn with your left thumb and index finger. |
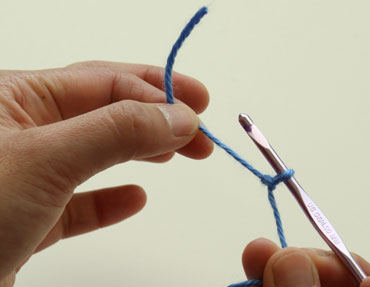 | 5. Pull the two ends of the yarn gently to tighten the loop onto the hook. This is a slip knot. If you were to take the hook out and pull the two ends of the yarn, the yarn will straighten out. |
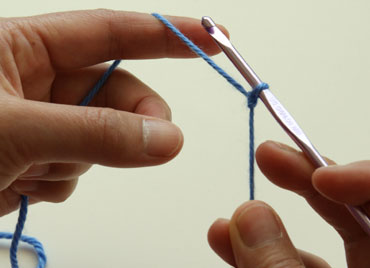 | 6. Position the yarn so that the long end is over the index finger of your left hand and then held into position with your ring and little fingers. When I first started to crochet it took me a while to get into a comfortable way of holding the yarn. The more you crochet the more you’ll find a position that’s natural and comfortable for you. |
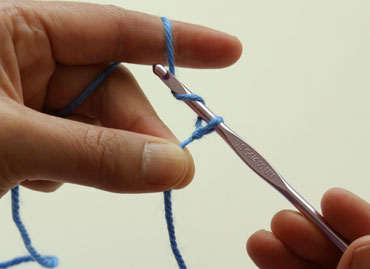 | 7. Guide the hook with your right hand to go over and under the yarn so that the yarn is wrapped around the hook as shown in the picture. |
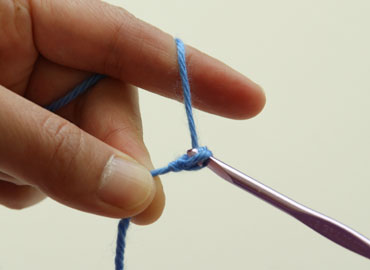 | 8. Pull the yarn through the loop. |
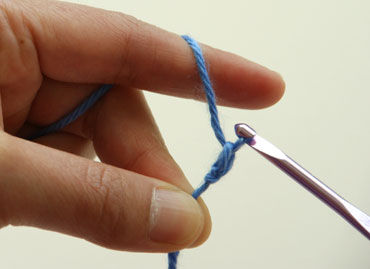 | 9. That is one chain stitch. |
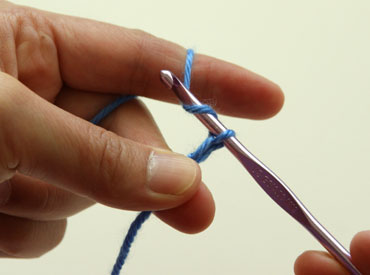 | 10. Repeat steps 7 and 8. |
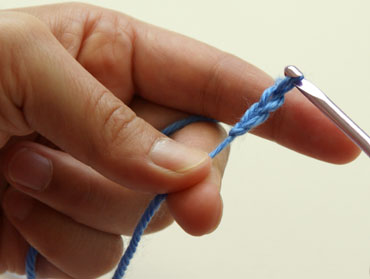 | 11. That’s two chain stitches. The loop on the hook does not count as a stitch. |
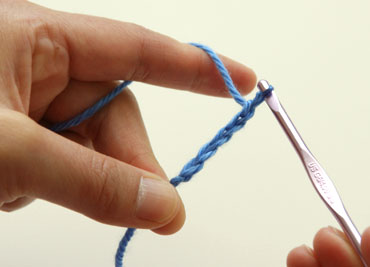 | 12. Repeat steps 7 and 8 again and again until you have a chain of stitches. |
 How To Make a Pom Pom
 The Deconstruction of Super Bear
 Panda Bear Amigurumi Crochet Pattern – Free!
 Embroidery Tips Presented by Mr Fox

