How to Make Continuous Bias Binding Tape
January 11th, 2017
This is much easier and quicker to make than it looks and once you get the hang of it, you will never need to buy bias tape or dread making binding again!
Bias tape binding is cut on the diagonal of the fabric giving the tape a bit of stretch for binding around curves, such as a neckline on a dress or rounded corners on a blanket, quilt or potholder. I typically make 2.5″ wide binding tape, but this tutorial can be adjusted to whatever width you need.
Materials List:
- one fat quarter
- quilting ruler
- pencil
- scissors
- sewing machine
- thread
- pins
- iron and ironing board

Step-by-Step Guide: Continuous Bias Tape Binding
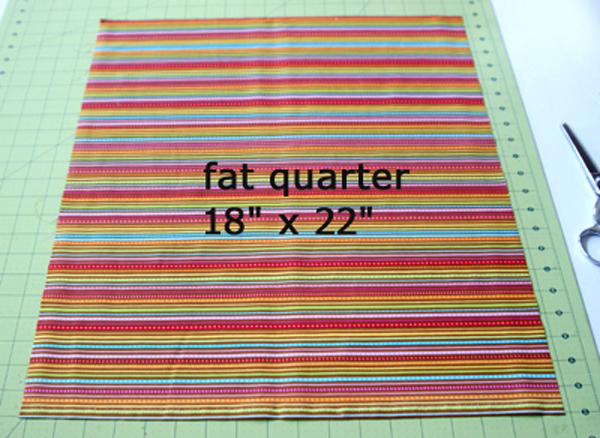
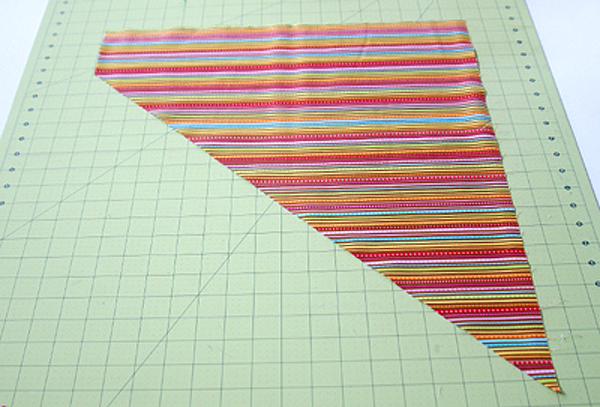
Trim the selvage of your fat quarter.
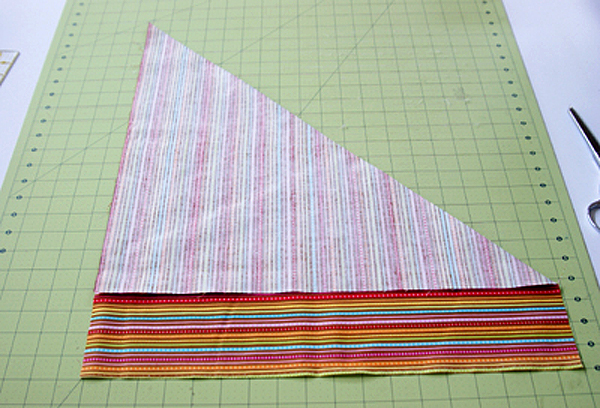
Fold down one corner so that one short edge is even with the long edge.
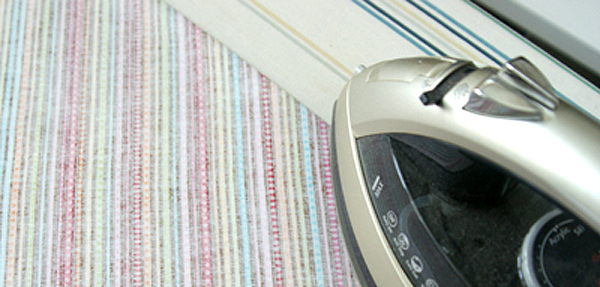
Iron the folded edge to make a distinct crease.

Cut along the creased edge.
You now have two pieces, a triangle and a larger cut piece.
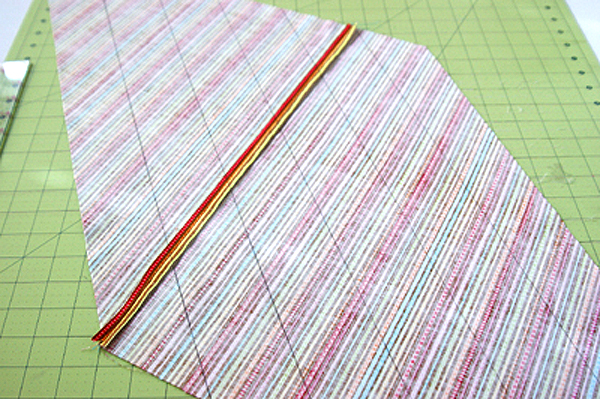
Arrange the larger cut piece right side up.
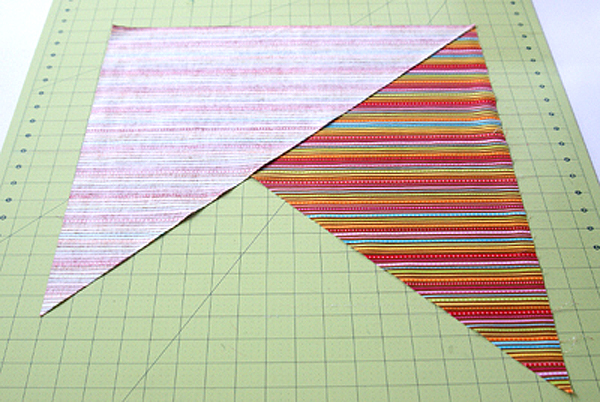
Place the triangle on top right side facing down and top egdes even. Sew 1/4″ seam along the top edge.
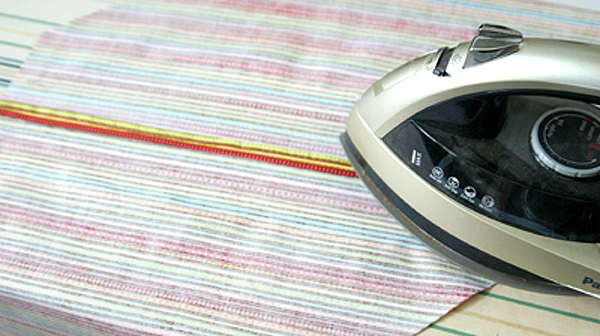
Press seam open.
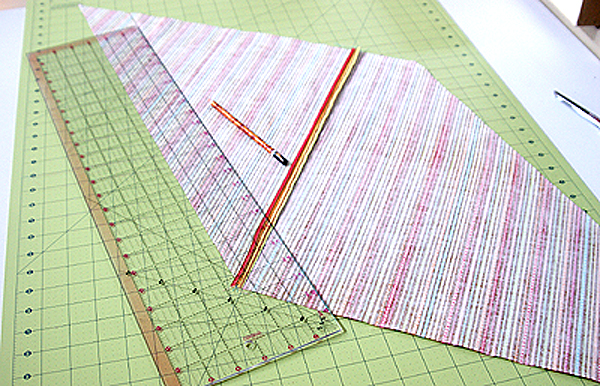
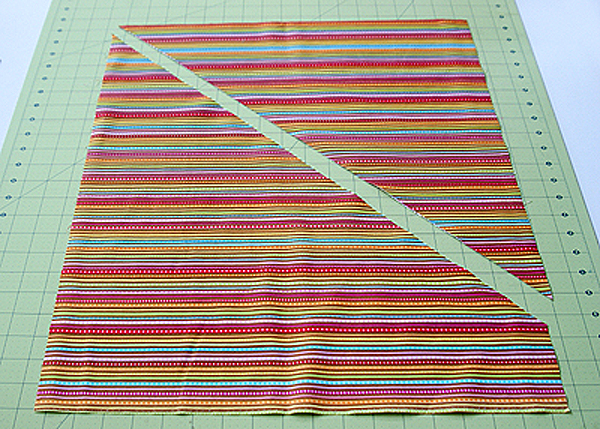
Measure and mark out the width of your tape on the wrong side of the fabric.
For this tutorial I marked out the fabric in 2.5″ increments. Trim off any excess.
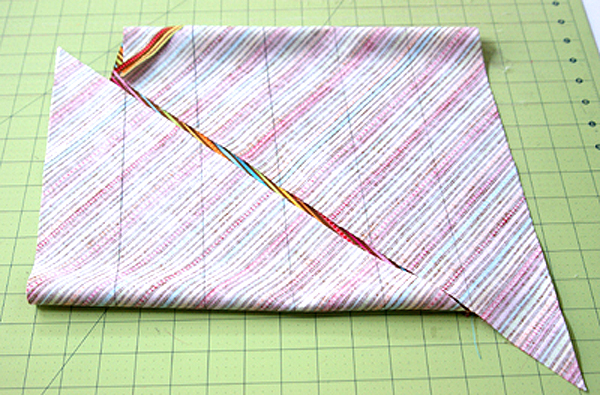
Fold the fabric with right sides facing each other and the lines are matching up. Both outer edges of the fabric will match up with a line. It my seem all wonky, but don’t worry, it will all make sense when you are ready to make the continuous cut.
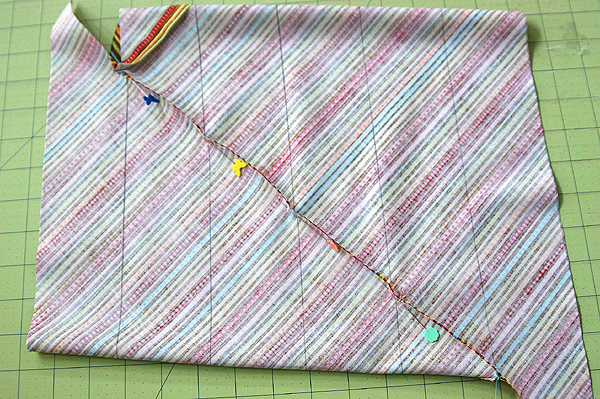
Pin the matching lines 1/4″ down from the edge of fabric. This part is tricky as you need to fiddle with the positioning of the fabric so that after you pin and the fabric lays flat, the lines will be straight and matching up completely.
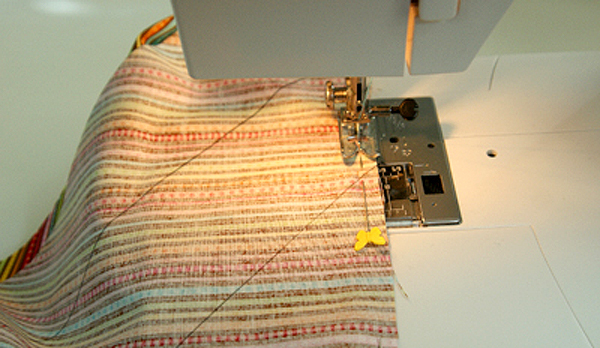
Sew 1/4″ seam along where you pinned. Take pins out as you sew.
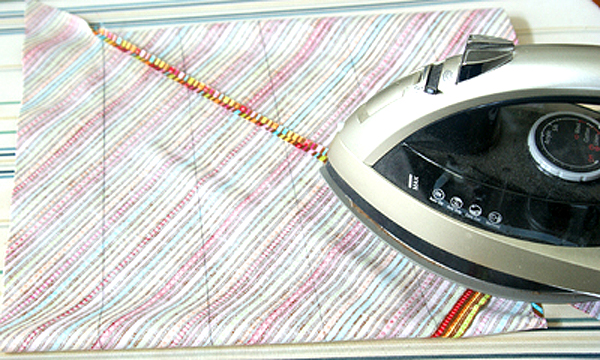
Press seam open.
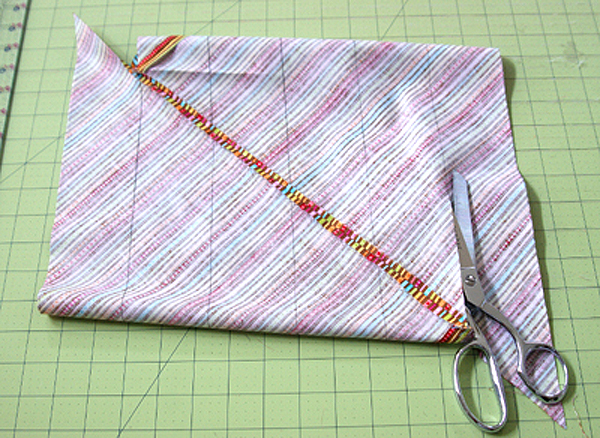
You will now have a twisted kind of tube with a continuous line that spirals around the fabric. This is the line you will be cutting along.
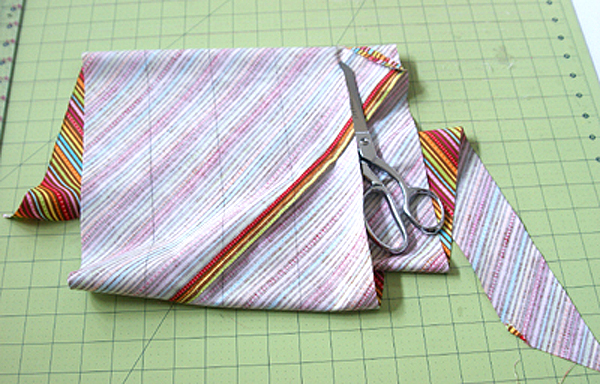
Keep cutting and going around the fabric tube until the end.
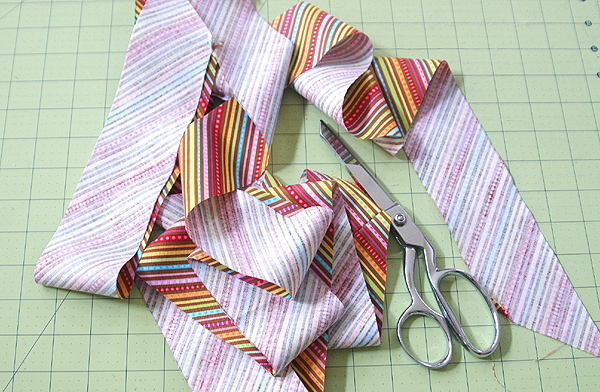
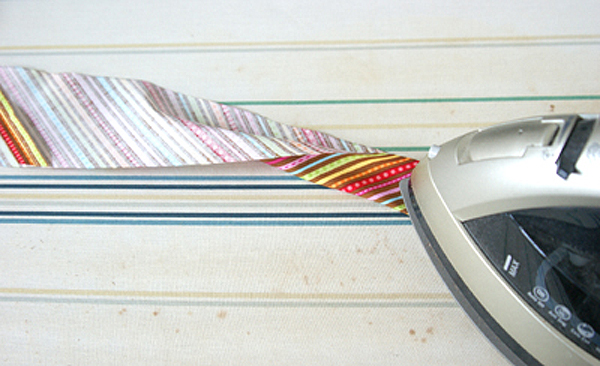
Fold binding tape in half and press.
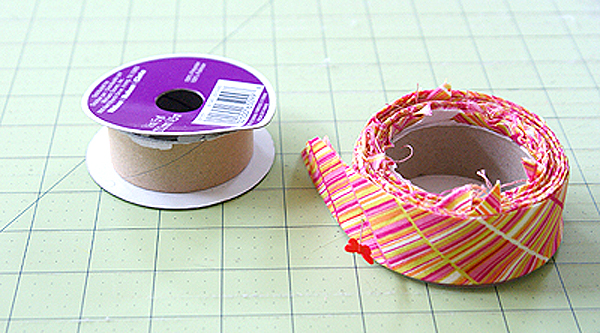
Here’s a tip for neatly storing extra binding. I reuse a cardboard ribbon spool.
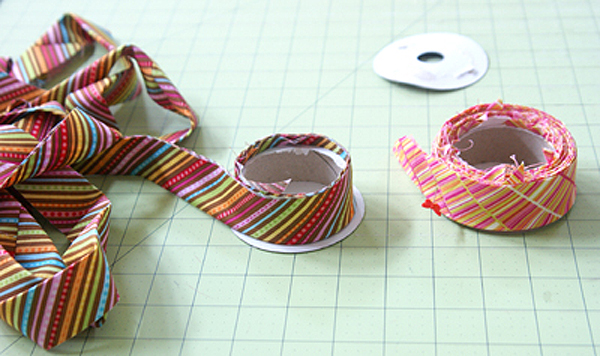
I just rip off one side so that the binding tape can be rolled around the cardboard spool and then pin the end in place.
 How to Stitch a Triple French Knot
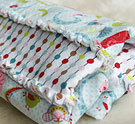 An Easy and Simple Way to Make a Baby Rag Blanket
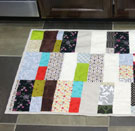 A Scrappy Patchwork Rug for the Kitchen – Another Easy Sewing Project
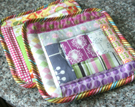 Sewing Tutorial: Log Cabin Potholders Made From Fabric Scraps


Thank you for the pictures of this technique. I can never follow videos well since people feel they must talk incessantly. But your pictures are clear and the directions concise.
Thank you, Mary Jo Banco
Your feedback is very much appreciated Mary Jo! I’m glad to hear my instructions are easy to follow. :)