How to Make Paper Snowflakes
December 19th, 2011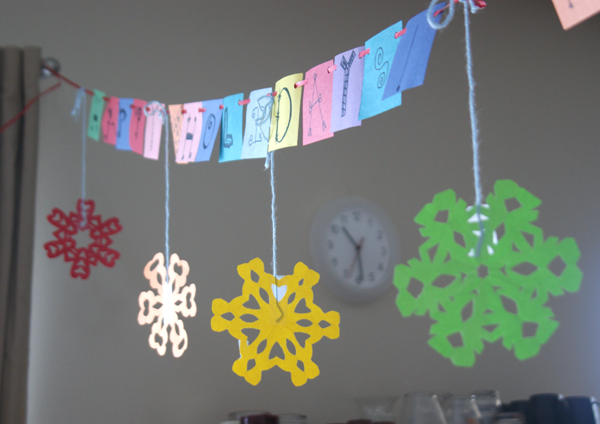
I spent yesterday morning cutting out paper snowflakes to go with some Christmas decorations the kids and I made last year (Christmas Banners: A Fun Craft Project for the Kids). Really love how each one turns out unique, just like the real snowflakes. It is such a simple thing to do and the results are so satisfying.
How to Make Paper Snowflakes:
The rainbow snowflakes pictured above are made with colored letter sized paper (24 lb 8.5″ x 11″).
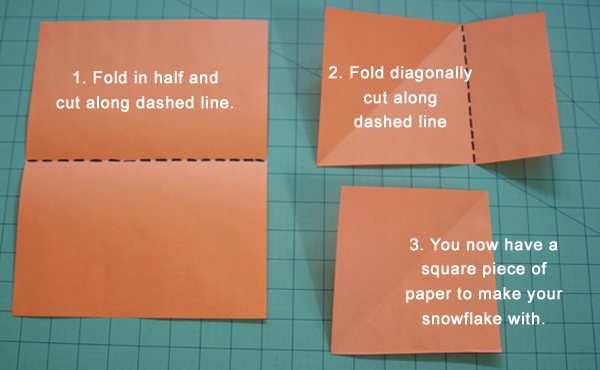
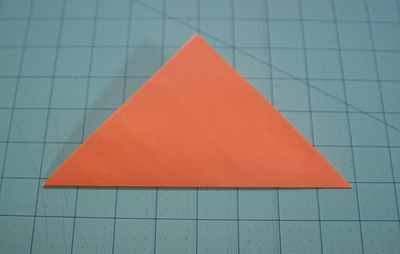 | 4. Fold square piece of paper diagonally to make a triangle. |
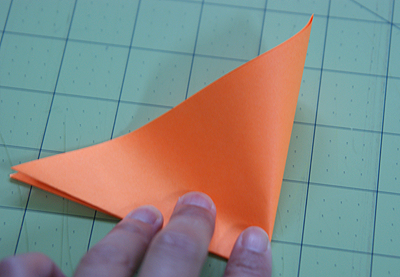 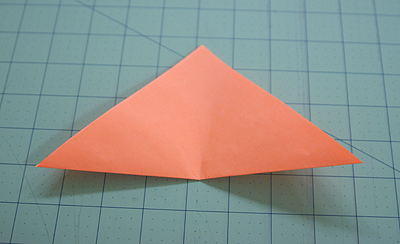 | 5. Fold triangle in half to make a slight crease of where the half way point is. |
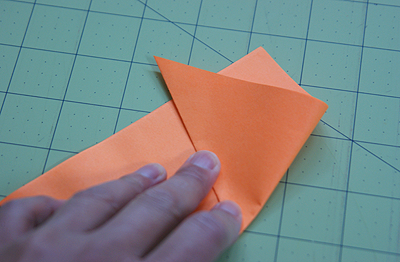 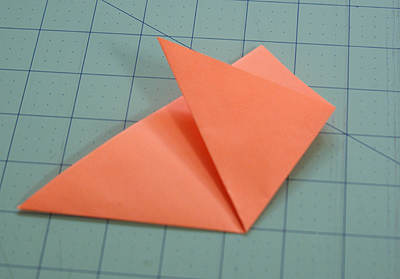 | 6. Putting your finger on the half way point, bring one corner of triangle up and make a fold as pictured. The angle is about 60 degrees from the baseline. |
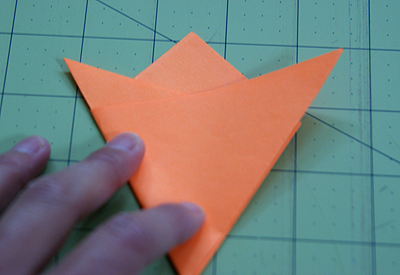 | 7. Now bring the other corner up and fold so that edges match up. |
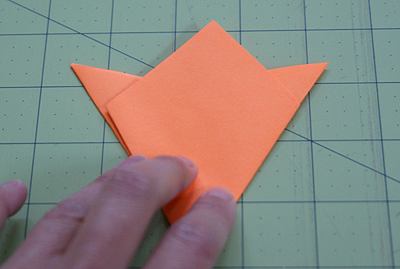 | 8. Flip the paper around. |
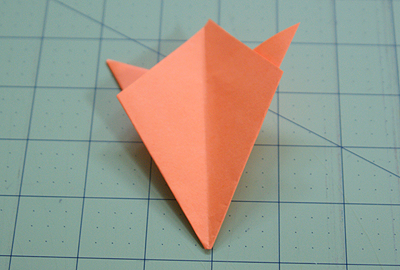 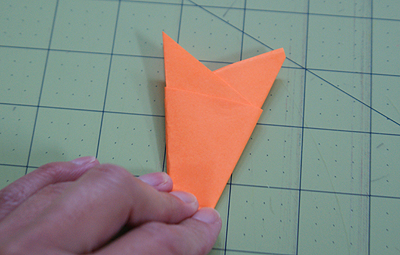 | 9. Fold in half. |
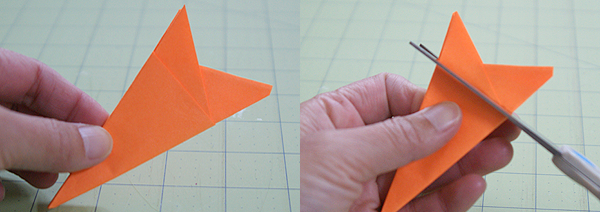
10. Cut the wings tips off.
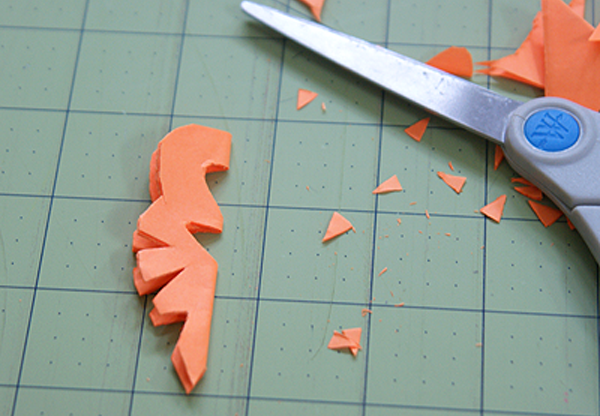
11. Snip out shapes from each side of the paper, you can even snip off a little of the point to make a star in the middle of your snowflake. Experiment – and have fun!
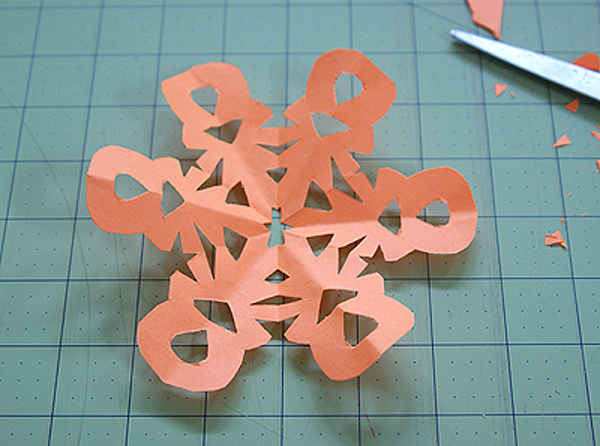
12. This is the best part – Carefully open up the paper and marvel at your paper snowflake and make another one! You can flatten out the paper with a warm iron.
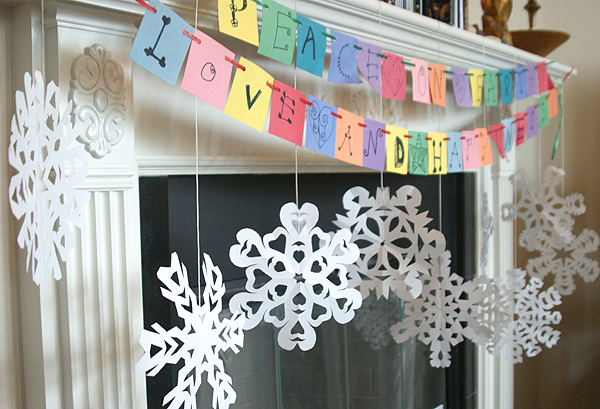
These larger snowflakes are made with plain white copy paper – just make sure you always start off with a square piece of paper.
While searching how to make paper snowflakes, I came across a cool website where you can make your own virtual paper snowflake! It has an interactive pair of scissors that allows you to make snips and then you can preview how your paper snowflake will look – click here to make your own virtual snowflake!
 Christmas Banners: A Fun Craft Project For the Kids
 Our Weekend of Making Duck Tape Flowers
 Recycle a Magazine into a Flower Globe
 Origami Easter Bunny

