Embroidery Tips Presented by Mr Fox
July 16th, 2011
I’m a big fan of Sublime Stitching and the work of Ryan Berkley, so when I recently discovered that I could combine the two, it was something I HAD to have. And to top it off, I also had the satisfaction and pleasure of making it myself and you can too! The embroidery pattern can be purchased here. I bought the PDF version which comes with a few extra patterns. I have a laser printer and although the instructions say that you can do a iron on transfer with the laser print, it actually didn’t work for me.
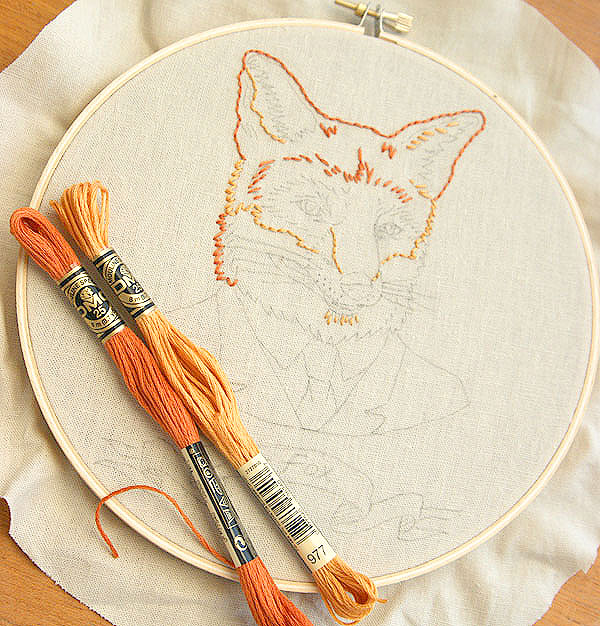
For this embroidery project I used a 7″ embroidery hoop, natural linen fabric and a mixture of DMC Floss and the embroidery floss / craft cord that you can get in a value pack at Michaels or Joanns. I also separated the floss to 3 strands.

Tip # 1: Create a Color Chart
Before heading out to the craft store to buy your embroidery floss, it’s a good idea to work out the colors you want to use. Because I was so excited to get started, I got ahead of myself and went to the store without a plan. I stood in front of the embroidery floss section driving myself crazy as I had no idea that there would be sooo many colors to choose from.
The second time I went back I had my pattern and color chart in hand and it was a breeze. As you can see from the picture above I ticked off the colors I already had.
Having the color chart prepared is also handy when you are doing the embroidery – that way you know what colors go where.
Tip # 2: The Longer the Thread, The More Tangled the Thread
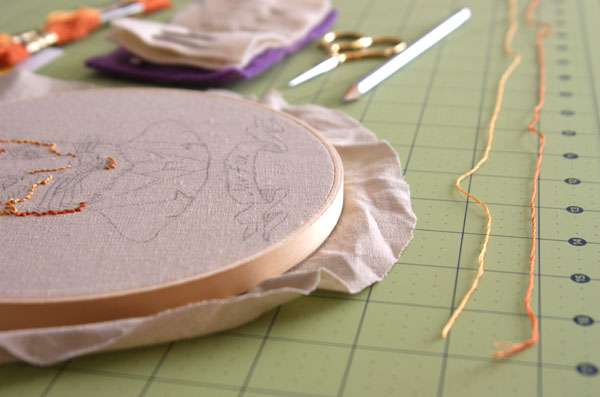
You may think that having a longer thread means that you can sew for longer without having to cut a new piece, well, it also means a lot of tangles and frustration. Best to keep thread length to about 17-18 inches (45cm) or shorter if you only have a small area to embroider.
Tip # 3: The Pencil and Window
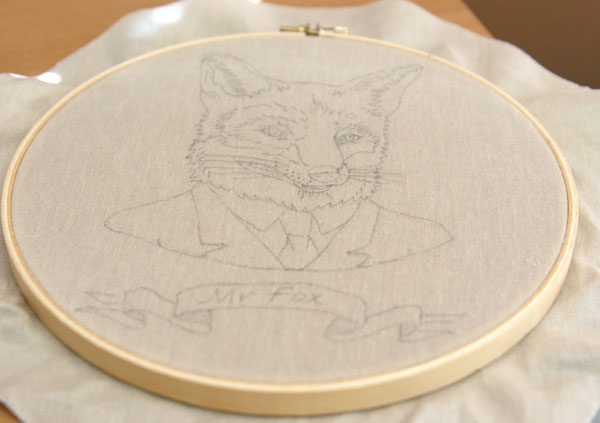
To transfer the pattern onto the fabric, I just used a lead pencil and traced the pattern on by sticking the paper and piece of fabric to the window with masking tape. You will of course have to do this during daylight hours.
Tip # 4: Tuck and Snip
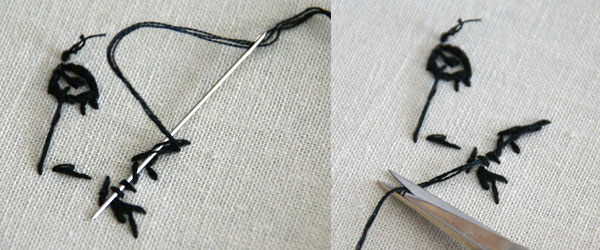
To end a thread, just tuck the needle through a few stitches at the back and then snip!
 How To Make a Pom Pom
 How to Stitch a Triple French Knot
 Panda Bear Amigurumi Crochet Pattern – Free!
 Crochet Basics – How to Do A Slip Knot and Chain Stitch

