How To Make a Pom Pom
March 23rd, 2010
It’s pretty easy to make a pom pom out of yarn. I often include them in my amigurumi crochet dolls as ears or a tail for an animal. They also look good on top of a hat, like the one I made for this pink crochet bunny.
You will need:
> scrap cardboard
> yarn (color of your choice)
> scissors
> pencil
> something round like a coin or bottle to trace around
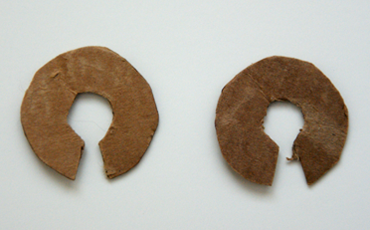 | 1. Cut 2 circles out of cardboard. My finished pom pom is slightly wider than an inch (3cm), so the diameter of my circle is also about an inch. I think I traced the inside section of a roll of tape to make my circle. If you want a bigger pom pom, use a bigger circle. Cut out the keyhole shape from the 2 circles as shown in the picture. This doesn’t have to be perfect, I just eye-balled it. |
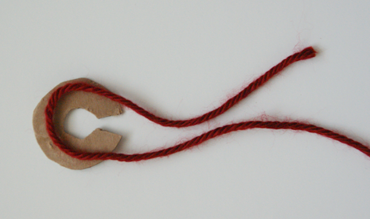 | 2. Cut a string of yarn about 10 inches (25cm) long and lay it on one of the circles as shown in the picture. It helps if one end is longer than the other, because I’m right handed, I have the yarn on the right side shorter. This makes it easier when wrapping the yarn around the cardboard. |
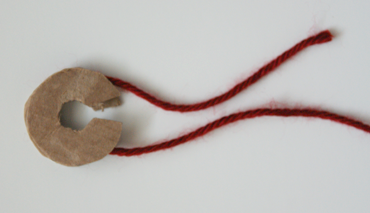 | 3. Lay the other piece of cardboard on top. |
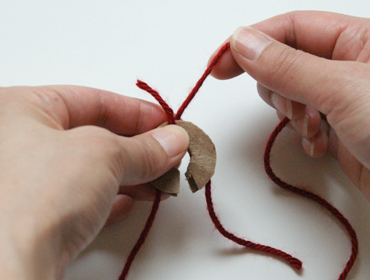 | 4. With another string of yarn, start from the center of the circle and wrap the yarn around the cardboard. |
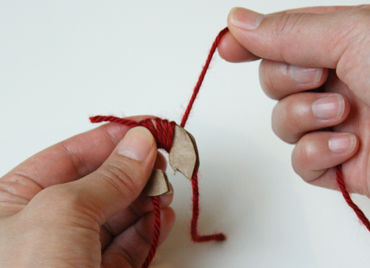 | 5. Wrap the yarn down one side of the circle while holding the starting position in place with your thumb. I usually go down the right side first. |
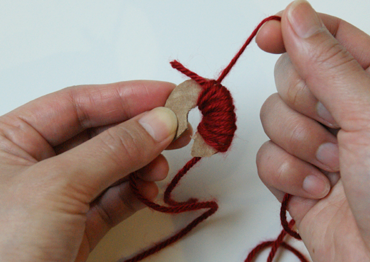 | 6. After reaching the bottom of the right side, keep wrapping the yarn around the cardboard back to the center. |
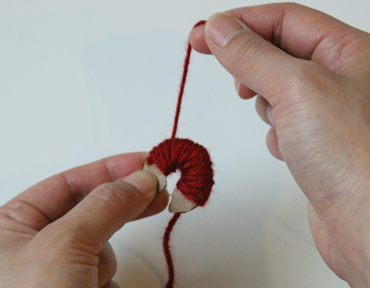 | 7. Now wrap the yarn down the left side and back up to the center again. |
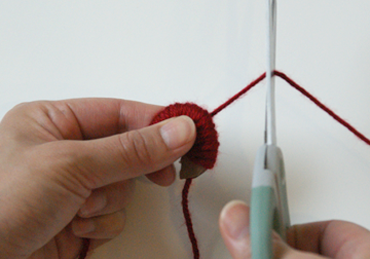 | 8. When you have reached the center, cut the yarn. The number of times you wrap the yarn around the cardboard depends on how full you want your pom pom to be. Mine usually ends up to be about 40 – 50 times. Obviously the more times you wrap the yarn around, the fuller it will be, but don’t make it too bulky as you’ll find out why in step 10. |
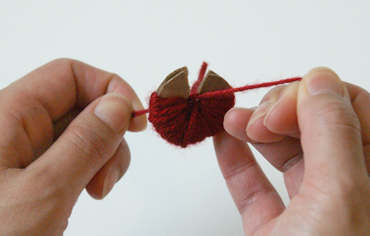 | 9. Take the two ends of the yarn that is between the cardboard and tie them together so that the looped yarn is held in place. |
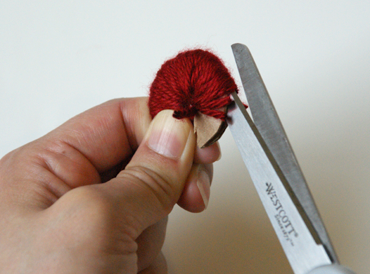 | 10. Carefully slide your scissors in between the cardboard and start cutting the looped yarn from one end. If the yarn is too bulky, it will be harder to cut your way through. |
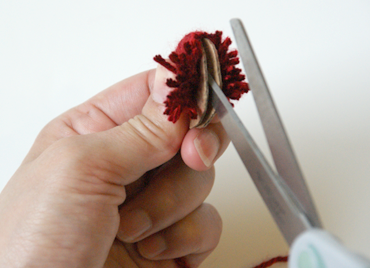 | 11. Keep cutting all the way to the other end. |
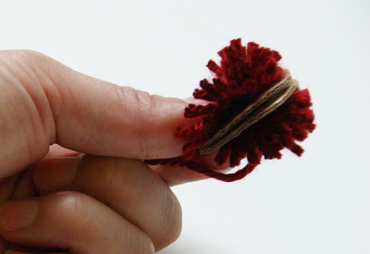 | 12. Ta-da! Almost there. |
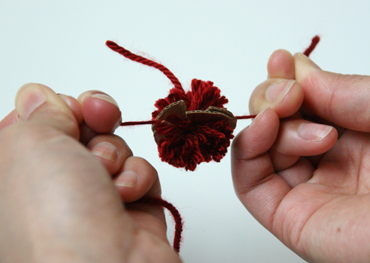 | 13. Get the ends of the yarn that is between the cardboard and tie a secure knot. |
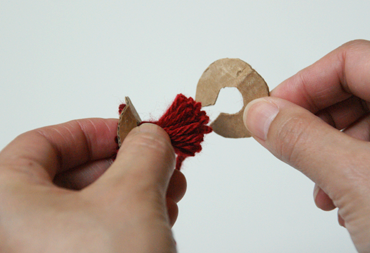 | 14. Remove the twp pieces of cardboard. |
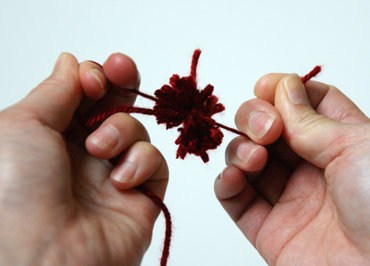 | 15. Tie another knot with the string of yarn that holds the pom pom together, this time tying the knot on the other side (if that makes sense). |
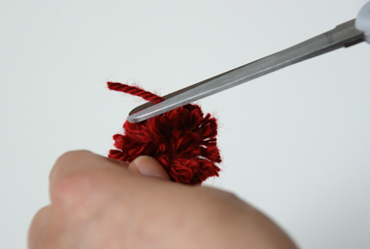 | 16. Fluff out the yarn and cut off the longer bits of yarn that are sticking out. |
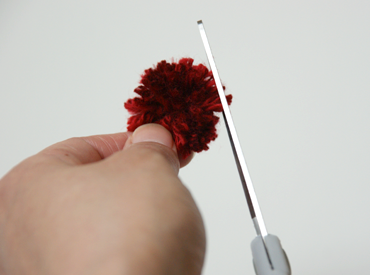 | 17. Trim your pom pom into shape. |
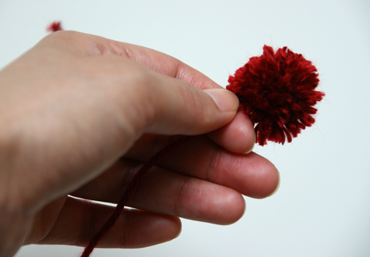 | 18. The end : ) Pretty easy huh..? |
 The Deconstruction of Super Bear
 How to Stitch a Triple French Knot
 Crochet Basics – How to Do A Slip Knot and Chain Stitch
 Embroidery Tips Presented by Mr Fox

